
If you’re hosting a church website on shared webhosting, chances are they limit how much space and bandwidth you can use each month. Uploading sermons each week can eat into those limits very quickly.
Enter Backblaze B2, a cloud storage option costs less than a quarter of what Amazon S3 would cost for the same amount of storage. Backblaze has been around for years as a computer backup solution and has made their name by providing reliable storage at low cost.
In fact, the first 10GB of storage is free, so you might even be able to host your sermons at no cost at all.
Getting Started with Backblaze B2
- Sign up for a Backblaze B2 account; you don’t even need a credit card to get started.
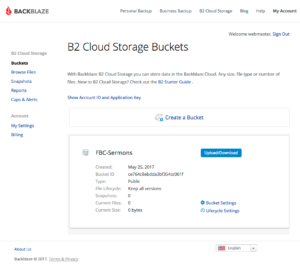
- Once you’re in your account, click on Buckets and then on Create a Bucket.
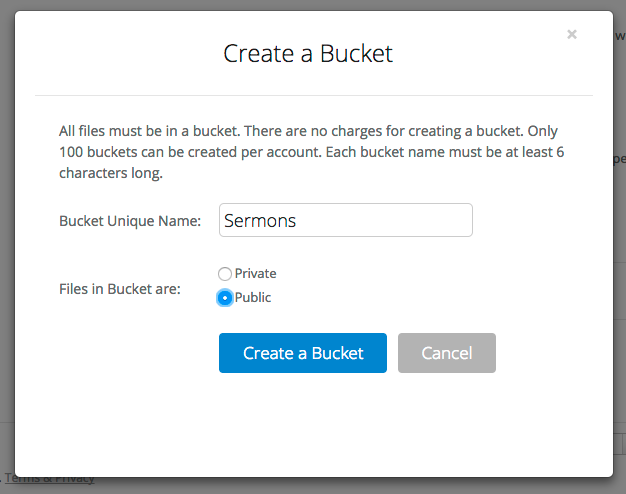
- Enter a unique name for the bucket, set the privacy settings to Public, and click Create a Bucket.

- Click on Show Account and Application Key; make a note of your Account ID and then create an application key. You’ll need these later.

Setting Up Cyberduck
Backblaze B2 provides the ability to upload files right in the web browser, but it also provides support for a growing list of third-party tools, including the popular Cyberduck FTP client.
I recommend the Cyberduck client because it’s easy to use and feels familiar: it lets you work with files just like you normally do on your desktop.
Here’s where to get it:
Here’s how to get started:
- Open Cyberduck
- Go to the Bookmarks menu and choose New Bookmark
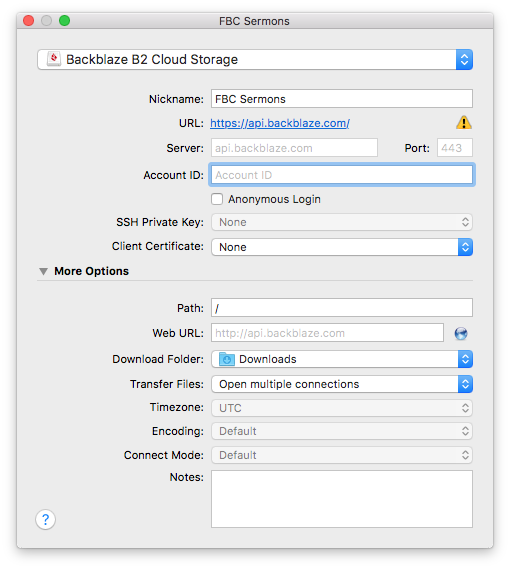
- Choose Backblaze B2 from the dropdown menu at the top of the window
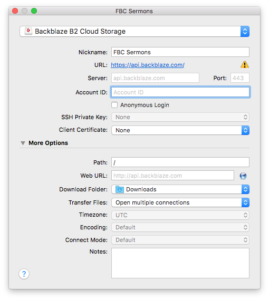
- Set a name if you want; add the Backblaze B2 Account ID and close the window
You’ll only need to go through this process once.
Adding Sermons
Now that all the setup is out of the way, adding sermons is pretty easy. Here’s how:
- Open Cyberduck
- If it doesn’t open automatically, double-click the B2 server in your list of connections
- Open the bucket you just created
- Drag your sermon audio (or video) file into the Cyberduck window and wait for it to finish uploading
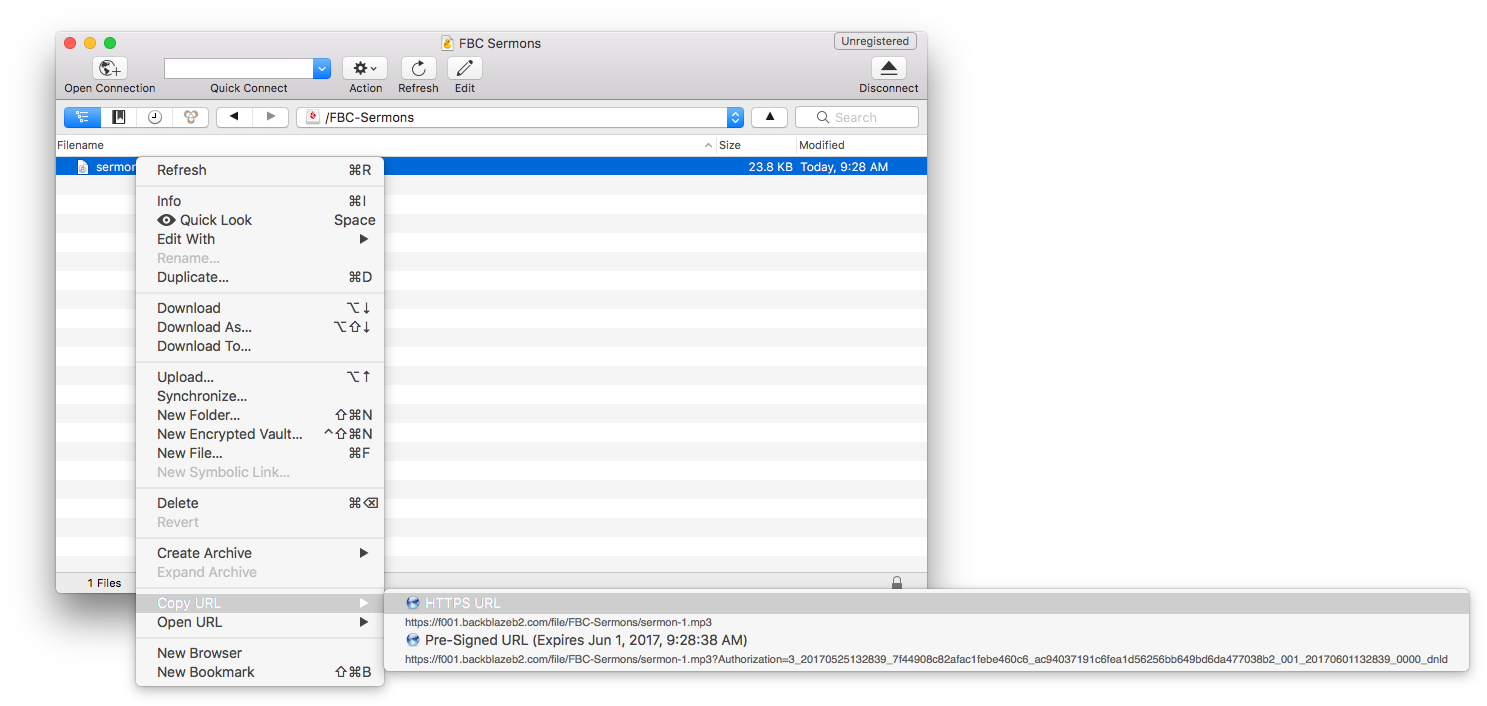
- Right-click on the sermon, go to Copy URL, and choose HTTPS URL
- Paste that URL into the the Location of MP3 field in Sermon Manager
Advanced Options
For more advanced users, you can set up CloudFlare and Backblaze B2 to work together and potentially save more money; here’s an article explaining how to set up a “vanity URL” and use CloudFlare’s caching.
If you set up a vanity URL as described in that article, you’ll still want to copy the HTTPS URL from Cyberduck, but when you paste it into Sermon Manager, modify it to include your vanity URL instead of Backblaze’s domain name.
Summary
Backblaze B2 is a great cost-effective option for hosting sermon media, and is easy to use with the popular Sermon Manager for WordPress plugin.
Great solution! Thanks for the tutorial!
Is there a way to restrict a Cyberduck user to one bucket using an Application Key? When I connect my Cyberduck with using my Account ID and a bucket’s App Key, I can still see all other buckets.
I’ve not used them, but it looks like you can restrict an application key to a specific bucket: see Backblaze documentation