Trello to Excel

I was trying to export a Trello board to a spreadsheet and include all the cards and checklists but couldn’t find a good way to do that, so I wrote one!

Originally this project was based on Laravel Zero, a command-line Laravel framework. It accepted a JSON file exported from Trello and exports an Excel spreadsheet:

  • A board becomes an Excel file
  • Each list becomes a worksheet
  • Each card becomes a row in the worksheet
  • Checklist items become individual rows with their name, completion status, and due date

It still does that, but it’s also available now as a webapp for anybody to use simply by logging in with Trello!

Try it out here: https://trello-to-excel.andrewrminion.com/

You can find the source code here: https://gitlab.com/andrewminion/trello-to-excel

Example

Counting Distinct Values in a Single Field

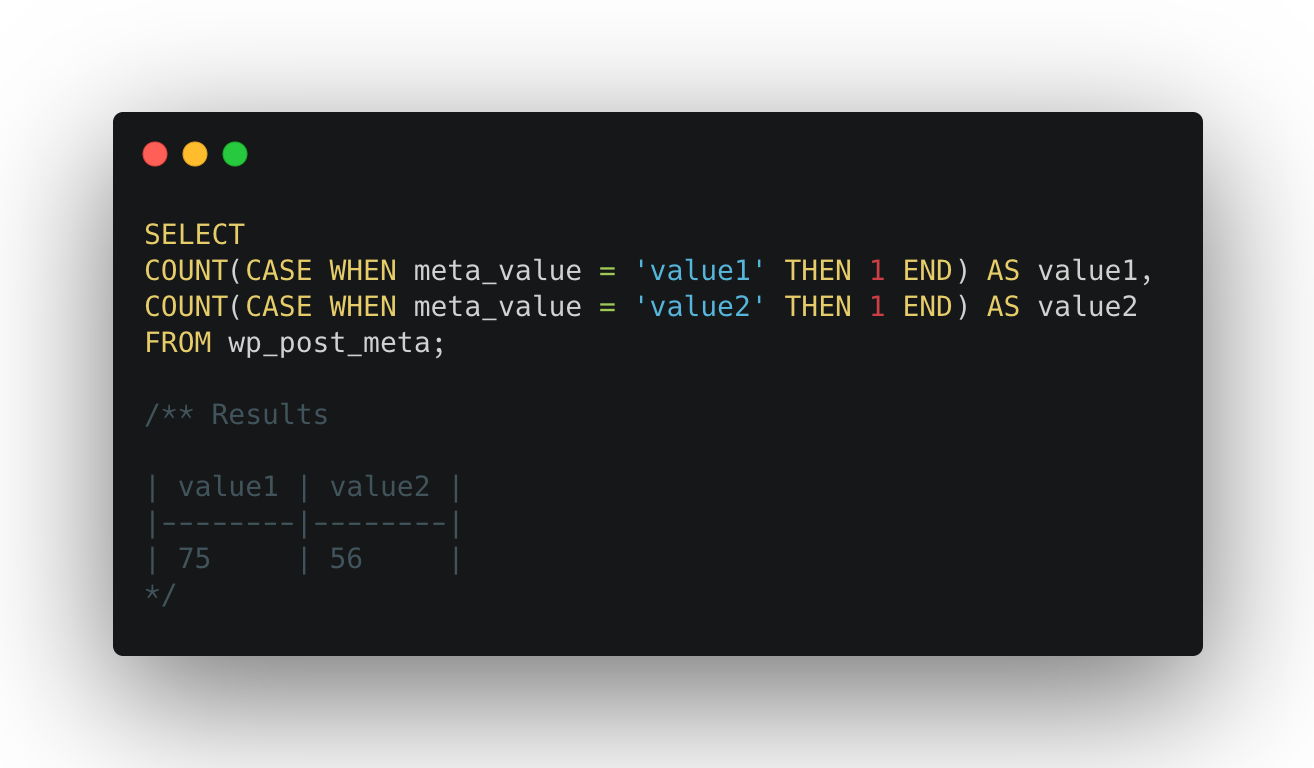
A quick MySQL snippet to count how many times a value appears in a single field—much easier to grok than multiple JOINs.

SELECT
COUNT(CASE WHEN meta_value = 'value1' THEN 1 END) AS value1,
COUNT(CASE WHEN meta_value = 'value2' THEN 1 END) AS value2
FROM wp_post_meta;

/** Results

| value1 | value2 |
|--------|--------|
| 75     | 56     |
*/

Local Development and WordPress Uploads

One common issue with local development is how to handle uploaded files.

You could copy the entire wp-content/uploads/ directory but that can use up a lot of disk space for little benefit.

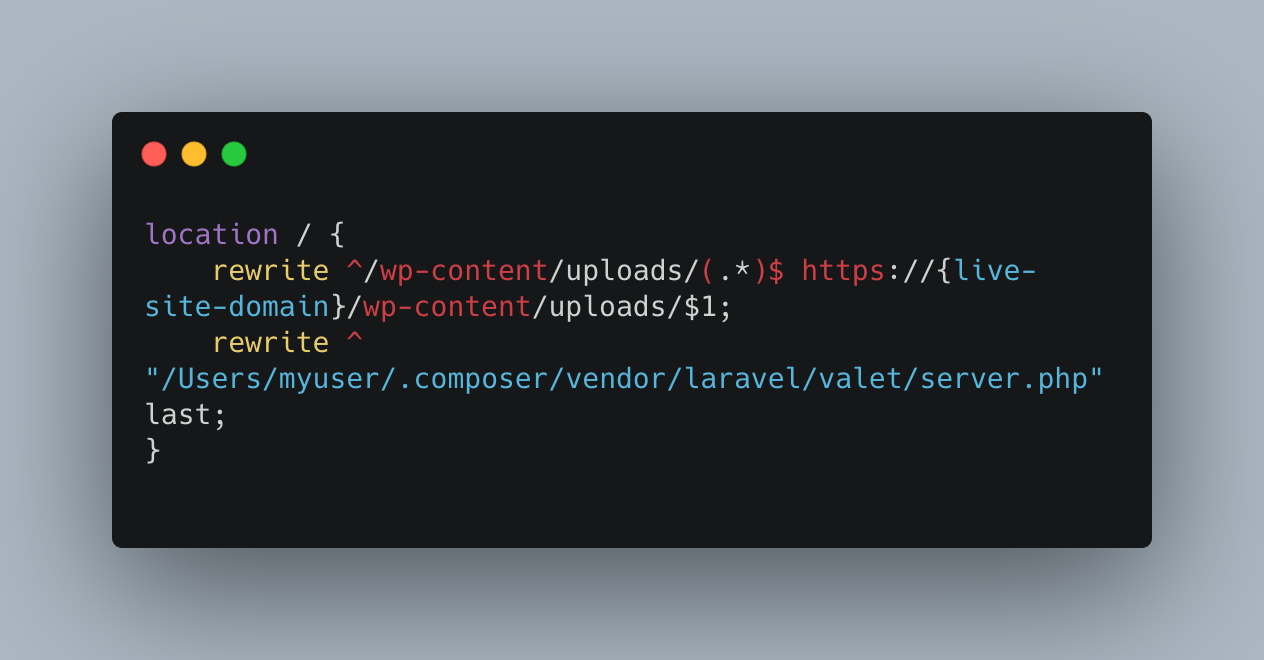
Another option is to rewrite all HTTP requests for missing local images to the appropriate URLs on the live site.

Here’s how to do it:

Nginx

Find your nginx config file1 and add this line above the location / { block:

location /wp-content/uploads/ {
    try_files $uri $uri/;

    rewrite ^/wp-content/uploads/(.*)$ https://{live site domain}/wp-content/uploads/$1;
}

Or if for some reason you need to rewrite all files to the live site instead of just those that are missing, add this in the location / { block, ideally as the first line:

rewrite ^/wp-content/uploads/(.*)$ https://{live site domain}/wp-content/uploads/$1;

Apache

Add this line to the .htaccess file:

RewriteRule ^wp-content/uploads/(.*)$ http://{live site domain}/wp-content/uploads/$1 [NC,L]

Notes

  1. If you’re using Laravel Valet: look in ~/.config/valet/Nginx/ for a file with the same name as your site’s domain.
    If you’re using Laravel Herd: look in ~/Library/Application Support/Herd/config/valet/Nginx/ for a file with the same name as your site’s domain.

Using psysh in Shared Hosting or Limited User Environments

When using psysh or Laravel’s php artisan tinker in a limited user’s environment, you may run into this error:

Unable to create PsySH runtime directory. Make sure PHP is able to write to {some directory path} in order to continue.

This is caused by psysh trying to use a path that’s not accessible to the user.

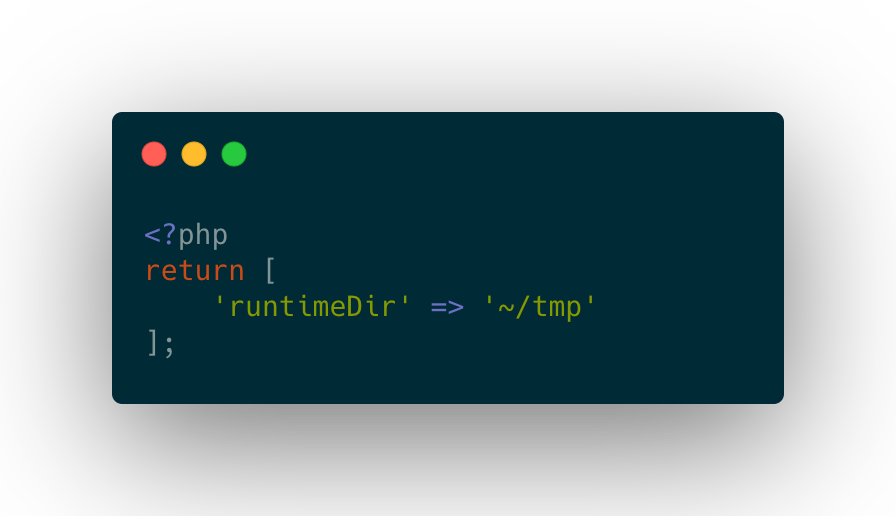
To fix, add a file at ~/.config/psysh/config.php with this content:

<?php
return [
    'runtimeDir' => '~/tmp'
];

Using Laravel artisan tinker and psysh with Xdebug

I often use Xdebug for troubleshooting and interactively debugging local code as I write it.

Laravel’s artisan command is extremely useful for running code interactively during development. (It’s based on another utility named psysh.)

It can be very useful to set some debug breakpoints and then run code interactively using artisan, but occasionally when I run php artisan tinker, the PHP shell just sits there and doesn’t accept any input until I kill my xdebug listener.

Thanks to this issue, I finally have a solution.

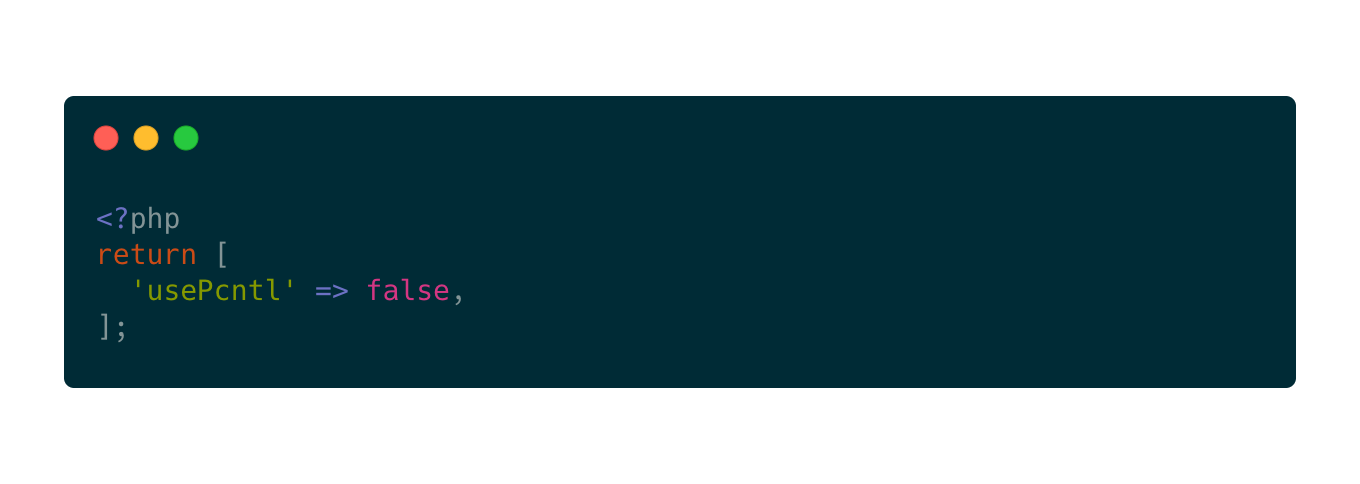
Add this to the psysh config file (~/.config/psysh/config.php on macOS):

<?php
return [
  'usePcntl' => false,
];

VS Code and Laravel Tasks

Several of my recent projects are Laravel apps that use Horizon to manage the queue and run jobs.

However, I frequently forgot to run php artisan horizon when opening the project, and sometimes spent a bit of time trying to figure out why a job hadn’t run before remembering. 🤦

In addition—and this is a relatively minor annoyance—even when I do remember to start Horizon, sometimes I’d like to see the metrics dashboard showing how many jobs have run in the past few minutes.

Edit: I added npm run dev to help with Tailwind JIT mode and Vite asset building.

Workspace Tasks

Enter VS Code’s Tasks feature. This can automatically start running tasks when a workspace is opened.

To get set up:

  1. If you haven’t yet, go to File > Save Workspace As… and save a workspace config file to somewhere on your hard drive
  2. Open the command palette (command-shift-P) and activate “Tasks: Manage Automatic Tasks in Folder”
  3. Activate “Allow Automatic Tasks”
  4. Open the command palette again and activate “Workspaces: Open Workspace Configuration File”
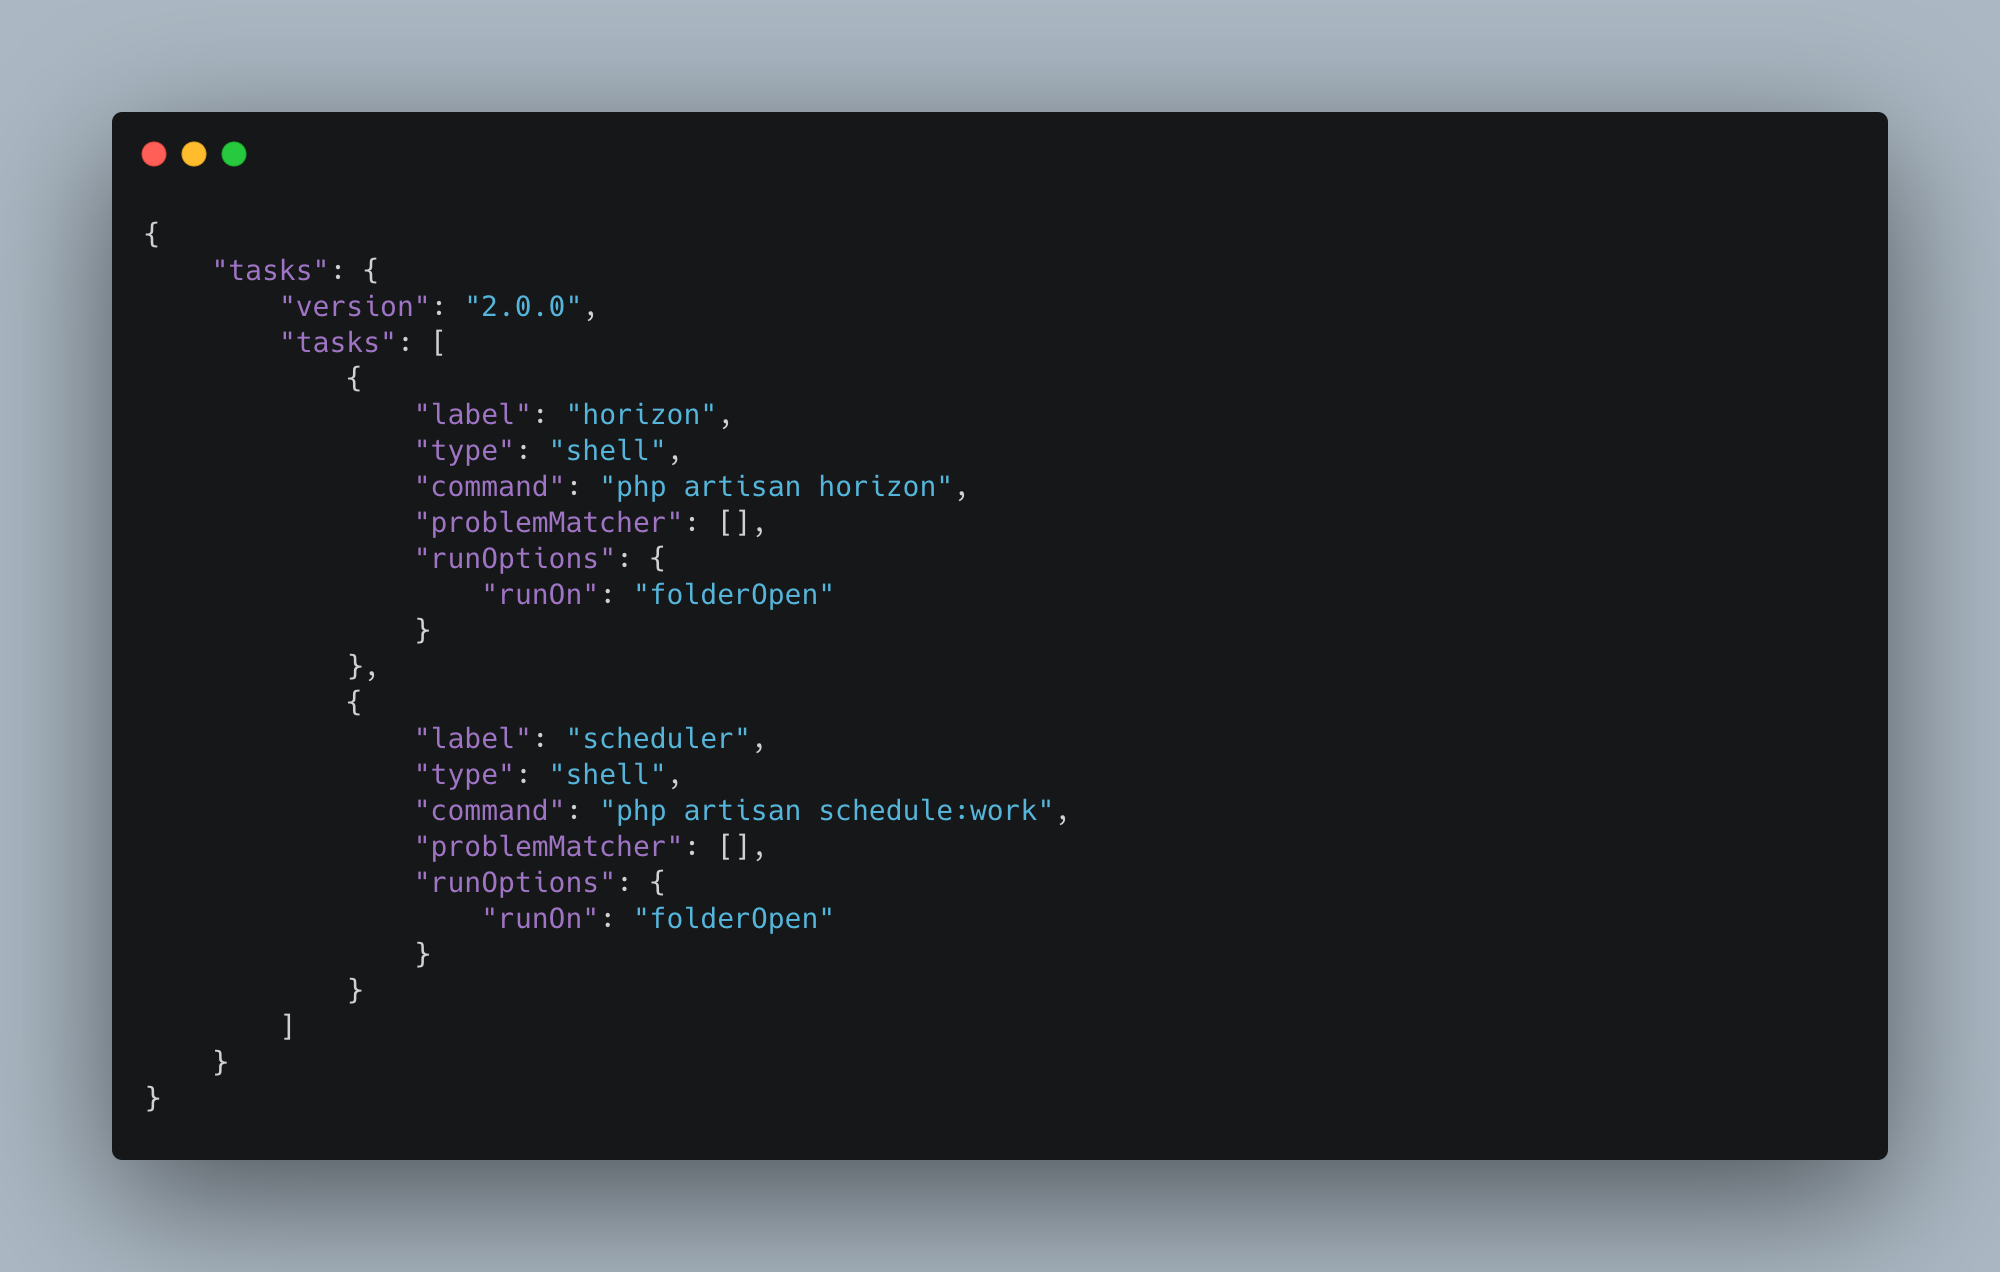
  5. Add the following to the workspace config file:

Now every time I open the workspace, assets are rebuilt as I modify them; Horizon, Pulse, and the scheduler start running automatically; and stale logs and failed jobs are pruned, keeping my database at a manageable size.

Visual Studio Code Workspaces and PHP Intelephense

When developing WordPress plugins for general use, I like to open the plugin directory itself in VS Code.

This allows me to use the git integration and terminal without wading through the wp-content/plugins/{plugin name} directory structure.

However, this results in the WordPress functions appearing as “undefined function” and the inability to jump to their definition or hover to see parameters and other details.

Here’s how I fix that annoyance:

  1. Save the open project as a workspace (File > Save As Workspace…)
  2. Add a fresh WordPress installation to the workspace, making it a multi-root workspace
    • Note: this step is not strictly necessary as noted below.
  3. Go to Settings (Code > Preferences > Settings), click on the “Workspace” tab, and search for intelephense.environment.includePaths
  4. In the “Include Paths” section, add an entry for the fresh WordPress installation so Intelephense will index it

Alfred Workflows

I’ve been using Alfred on macOS for years now and it’s a wonderful productivity enhancement (on average, I use it more than 100 times a day).

Here are some of my favorite workflows:

Alfred SSH

Alfred SSH by Dean Jackson gives you quick access to SSH connections you have defined in your config, as well as quick one-off connections.

Colors

Colors by Tyler Eich is a quick way to preview color codes and convert between formats.

Datetime Format Converter

Datetime Format Converter by Michael Waterfall is the fastest way I’ve found to convert Unix timestamps to human-readable dates, and vice versa.

Dev Doctor

Dev Doctor by Syd Lawrence provides quick-reference lookups for code documentation.

DevDocs

DevDocs by Yannick Galatol is another workflow that provides quick reference for documentation using devdocs.io.

HTTP Status

HTTP Status by Marc Görtz is my preferred reference for quickly finding an HTTP status code either by number or name.

Laravel Docs

Laravel Docs by Till Krüss is amazing…it seems to have indexed most of Laravel documentation, so searching by any key word tends to bring up the best page of the documentation.

Laravel Livewire Docs

Livewire Docs searches the Laravel Livewire documentation.

Open in VS Code

I use Visual Studio Code as my primary development tool; I created this workflow to quickly and easily open a file or directory in VS Code.

TailwindCSS Docs

TailwindCSS Docs searches the TailwindCSS documentation.

VPN Manager

VPN Manager by Dean Jackson is a great way to enable/disable VPN connections on the fly.

WordPress Developer

WordPress Developer by keesiemeijer is the fastest way to search and find functions, filters, classes, and more in the WordPress documentation.


Installing New Relic on RunCloud

Now that New Relic is offering a free tier, I’ve started using it to monitor some personal websites.

This particular server was configured using RunCloud, and the New Relic installation script didn’t automatically install New Relic monitoring for RunCloud’s PHP. Here are the steps I followed to get that working:

  1. Install New Relic APM for PHP following this documentation.
  2. Find the RunCloud PHP directories: /RunCloud/Packages/php7*rc/bin
  3. Set the NR_INSTALL_PATH variable to all the versions I had installed, as described here.
  4. Run newrelic-install and select all to install for all versions.
  5. Reload PHP: systemctl reload php7*rc-fpm

Bonus

I found this plugin that adds WordPress-specific knowledge to New Relic reporting.

Bonus 2

New Relic allows you to specify multiple app names to group together all the sites on a server, all of one client’s sites, etc. See their documentation for more details.

The WordPress plugin provides the wp_nr_app_name filter to modify the app name.

Setting Up YouTube Live

WP YouTube Live is a free WordPress plugin to display live videos on a WordPress site.

To get started, follow these instructions:

Enable Streaming on YouTube

  1. Decide if you will stream from a personal account or a brand account. Read more about the differences in this article.
  2. Decide how you will stream video.
  3. Enable streaming for your account; see this article for details.

Set up the YouTube Data API

  1. If you don’t have a Google account already, sign up here.
  2. Log in to the Google Developers Console: console.developers.google.com
  3. Create a new project if you don’t have one already.
  4. Go to the Credentials page: console.developers.google.com/apis/credentials
  5. Click the “Create Credentials” button at the top and choose “API key” and copy the new key
  6. Go to the Enabled APIs page: console.developers.google.com/apis/enabled
  7. Search for Youtube Data API v3 and enable it.

Reference: developers.google.com/youtube/v3/getting-started

Install the WordPress Plugin

  1. Go to the plugins page on the backend of your website.
  2. Press the “Add New” button and search for “WP YouTube Live.”
  3. Install and then activate the plugin.
  4. Go to Settings > YouTube, enter your channel ID and API key, and choose what to display when no video is live.
  5. Add the [youtube_live] shortcode to the page where you want the video player to appear.

Support

For other support questions, please use the WordPress support forum.